
Introduction: Your First Functional Robot System
Building your own machine is one of the coolest things you can do. A working robot arm is the first step toward creating robots that can help you with simple tasks, like sorting items or picking up light objects. This entry into the world of robotics is both rewarding and educational, laying the groundwork for understanding more complex autonomous robots and industrial robots.
If you are ready to learn how to make a robotic arm, you need a solid plan. We’ll cover the structure, the power, and the brain—the three essential parts of any successful machine, no matter if it is a simple prototype or a complex industrial robot used in factories.
1. The Blueprint: Structure and Kinematics

First, you need the physical design. Most robot arms are jointed, meaning they have bends like your shoulder, elbow, and wrist, resembling a human arm. The entire body, including all its limbs, is called the manipulator. You can create the pieces needed for assembling the arm using strong plastic or a simple 3D printer if you have access to one. This allows for rapid prototyping and custom robot design.
The study of how a robot moves and finds its way in space is called kinematics. Even though this sounds like a complex word, it just means you need to plan how each limb of the arm will move together to reach a specific spot. Each bend represents a degree of freedom, and a typical articulated arm might have several degrees of freedom along its axes to allow for flexible manipulation. Understanding this is crucial when considering how to make a robotic arm that moves effectively.
2. The Muscles: Actuators and Power

To move the joints, you need powerful muscles, which are known as actuators. These devices convert electricity into physical movement, forming the basis of robot technology.
For your project, you have options for your actuators:
- Speed and Power: A simple dc motor is powerful and easy to use, but sometimes lacks the precise stop-and-start control needed for accurate work.
- Precision: A servo motor is better for controlling the exact position and angle of each joint, offering excellent repeatability. Many modern robot arms rely on servo motors for their precision.
- Alternative Power: In heavy industrial robots, sometimes compressed air is used to quickly open and close the gripper; this air-driven force is called pneumatic power. This is often seen in high-speed pick and place operations or for specialized tooling.
Choosing the right actuator is a key step in deciding how to make a robotic arm that performs the job well. This decision significantly impacts the payload capacity and overall performance of your new robot.
3. The Brain: Control and Programming

Every great robot arm needs a smart brain. We use a microcontroller like the Arduino Uno because it’s easy to program and works well with many types of motors and sensors. The robot control system must know where the arm is at all times to execute commands accurately. This is a fundamental aspect of creating programmable robotic arms.
To achieve precise motion control, you need feedback or sensing. An encoder is attached to each motor and constantly tells the Arduino Uno exactly how much each jointed part has rotated. This information allows the robot to repeat the same move perfectly, ensuring high repeatability. The interface you use for robot programming should be intuitive, making it easy to create complex sequences of movement. This feedback loop is essential for any autonomous system.
4. The Hand: The End Effector and Tooling
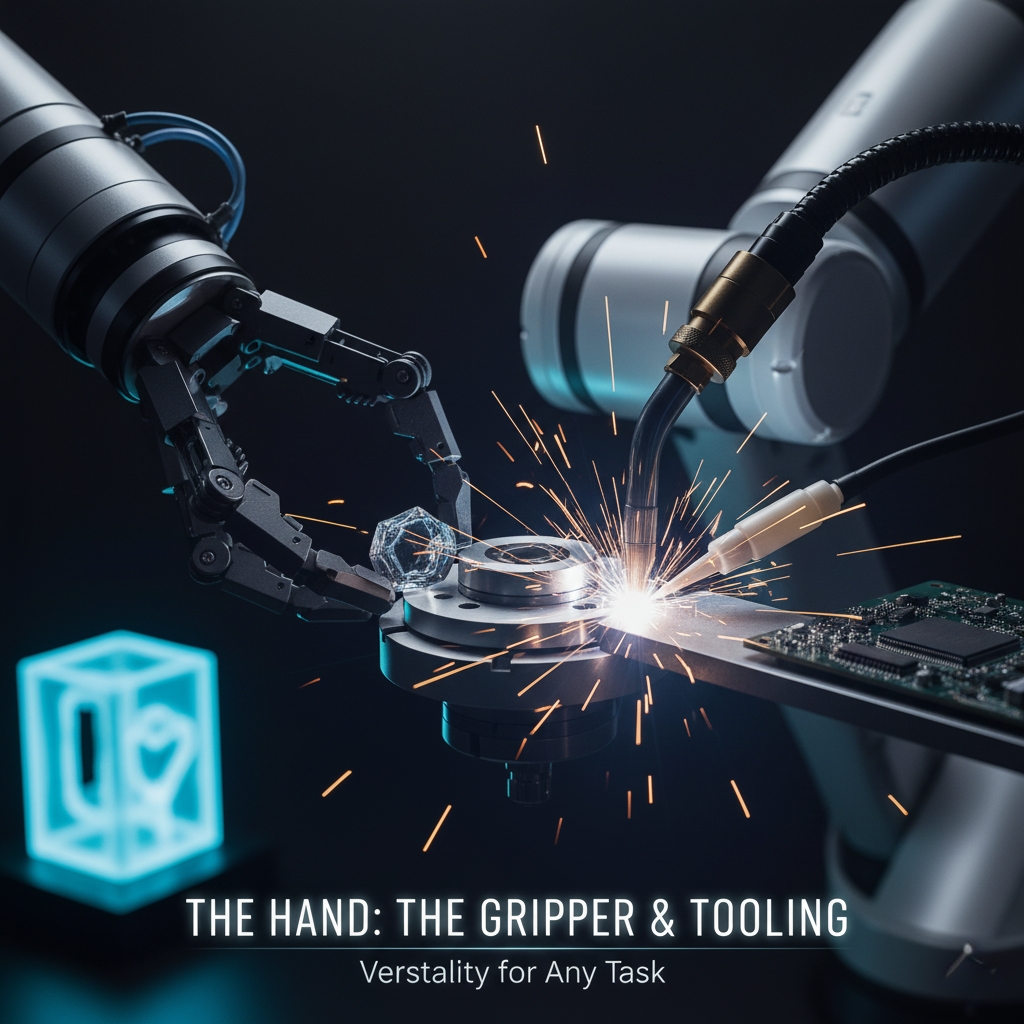
The final part of your robot arm is the hand, which is often a gripper designed for grasping objects. This part is also known as the end effector or effector. The gripper must be strong enough to hold the object but light enough so it doesn’t overload the dc motors at the joints. The weight of the end effector directly impacts the arm’s usable payload. For intricate tasks, a robotic hand with high dexterity might be needed.
In real factories, the tooling attached to the end of the manipulator might not be a gripper at all; it could be a specialized device for tasks like dispensing glue, spot welding, arc welding, spraying, or even machining. For a beginner project, a simple gripper or a basic claw is the best choice when learning how to make a robotic arm for pick and place or material handling.
5. Application: Designing for Movement

Whether your arm is fixed to a desk or mounted on a wheeled base, the principles are the same: motion control must be precise. If you build a wheeled mobile robot that also has an arm, you must plan the motion control of the base and the arm so they don’t fight each other. Understanding how to make a robotic arm requires thinking about the entire robot system. This is critical for mobile robots and autonomous vehicles that interact with their environment. By combining these steps, you can assemble a functional prototype capable of performing tasks in its workspace, from simple palletizing to more complex tending operations. Companies like FANUC and Universal Robots are leaders in industrial robotics, continually pushing the boundaries of what robot technology can automate in factories.
| Factor | DC Motor | Stepper Motor | Servo Motor |
| Precision | Low | High | Very High |
| Speed | Very High | Medium | High |
| Cost | Low | Medium | High |
| Complexity | Low | Medium | Medium |
Conclusion: Empowering Your Robotics Projects
You now have a complete, step-by-step guide on how to make a robotic arm. By selecting the right robot parts—from the Arduino Uno brain to the powerful servo motor muscles—and integrating them into a strong, jointed structure, you can build a highly capable manipulator. Focusing on accurate motion control and robot programming will ensure your project moves beyond a simple structure into a truly functional robot system. The robotics industry is constantly evolving, and your project is a perfect entry point into this exciting field of robotic automation.
FAQ
Component Checklist & Budget Estimator
Select components and adjust prices to estimate your project budget.
| Component | Example Part | Estimated Price ($) | Add |
|---|
